Configure an LDAP Connector
This page explains how to integrate an LDAP directory as an authentication method for your users on Reemo.
Important
Note
Configure LDAP in Reemo
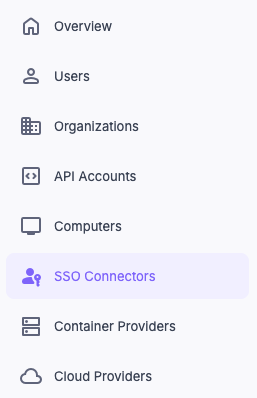
Access Connectors in the instance Admin Area.
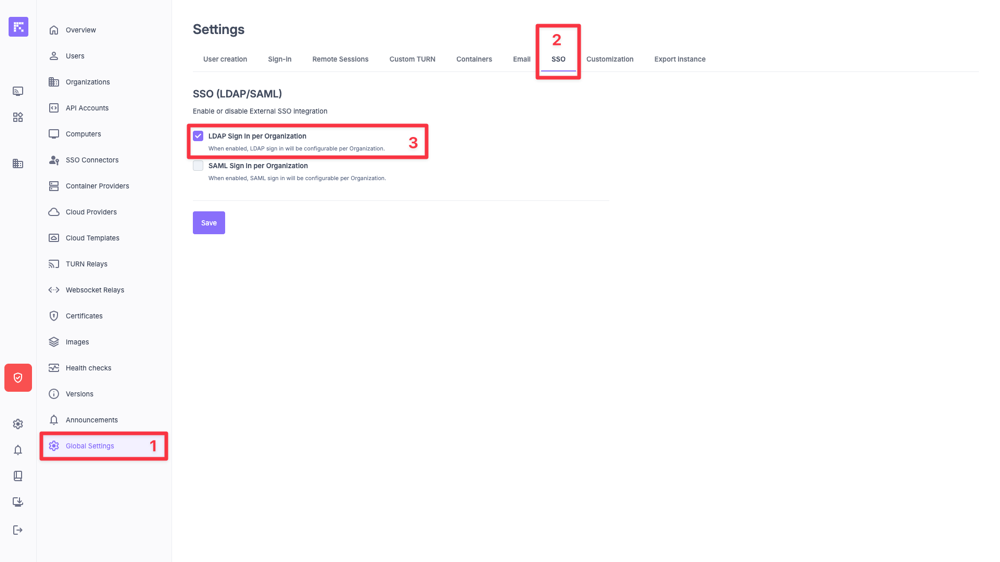
Enable the LDAP Sign-in per Organization option in the Global Settings.
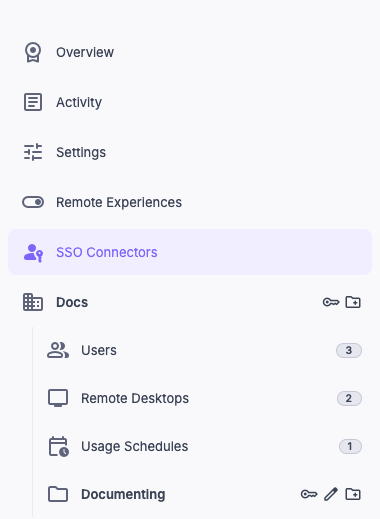
Configure SAML in Organization > Connectors.
Configure the LDAP Server
Within the instance (or within the organization if LDAP Sign-in per Organization is enabled), create a new LDAP Connector and fill in the following fields:
Friendly Name: name of your LDAP server (e.g., Company-AD).
Protocol:
LDAPorLDAPS(recommended).Host: IP address or FQDN of the LDAP server.
Port: server port (default:
389for LDAP,636for LDAPS).Bind DN: DN of the user used to connect to the LDAP server.
Password: password of the bind user account.
Base: base DN used to search for users and logins.
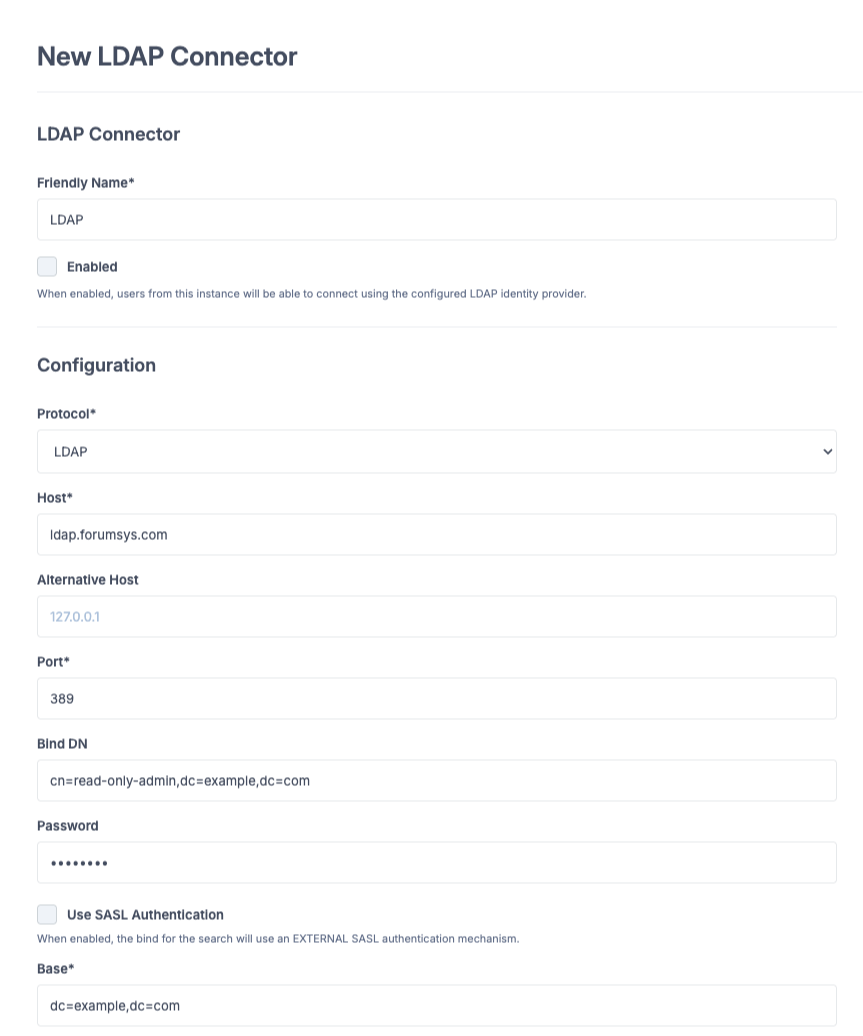
Fill in the LDAP connector fields.
Configure Attributes (Attributes Mapping)
Define the attribute mapping so Reemo can correctly identify your users:
UID: unique identifier field.
Username: login identifier field.
Email: email address field.
Full Name: full name field (e.g., displayName).
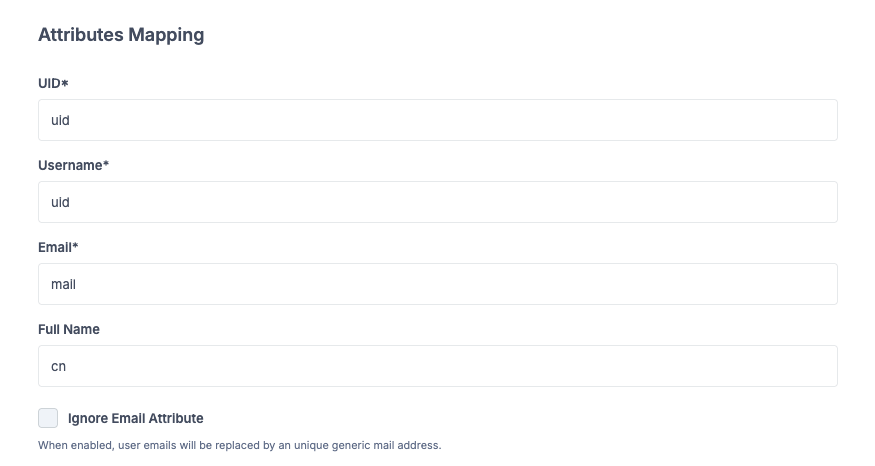
Define LDAP attributes for user mapping.
Provision Users
Once the connector is configured, you need to provision the users from your LDAP directory into your organization.
Go to the Users menu of your organization.
Click on New User > Provision LDAP User.
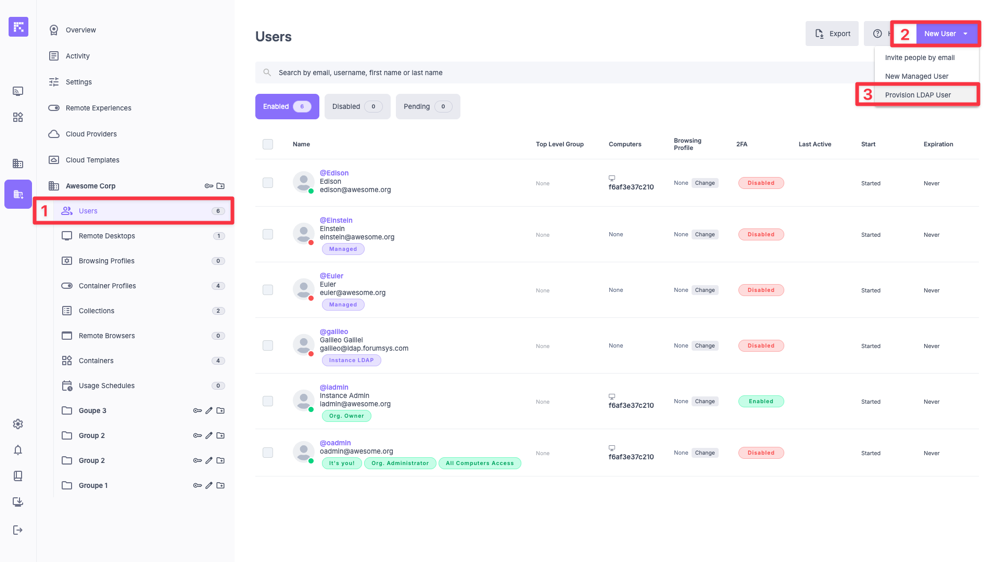
Provision LDAP users from the organization.
- A popup lets you search for your users and provision them:
Select the new LDAP connector from the dropdown menu.
Search for your users by Username, Email, or Full Name (if configured in the mapping).
Click Provision to add the users to your organization.
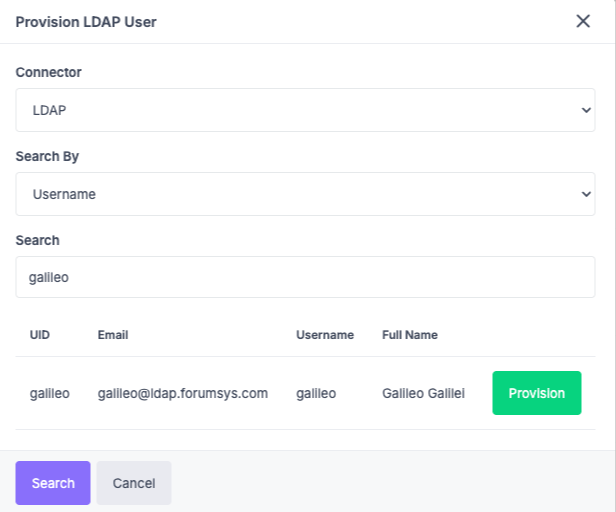
Provision LDAP users from the organization.
In the Connectors menu, edit your LDAP connector.
Enable Just In Time Provisioning in the Extra Settings.
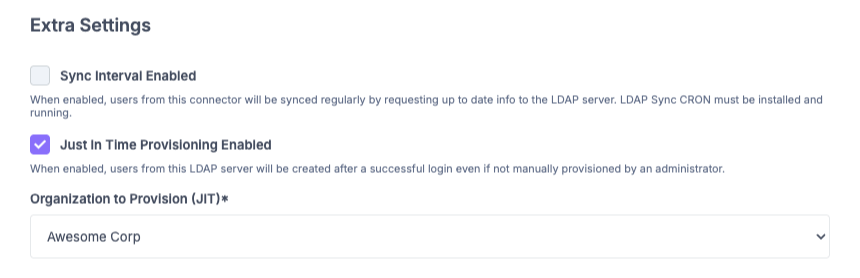
Enable Just In Time Provisioning in the LDAP connector’s Extra Settings.
Sign in via LDAP
Once the connector is active and users are provisioned (or JIT enabled), they can sign in via LDAP at the following addresses:
General portal access:
https://[portal_url]/
Direct access to the organization:
https://[portal_url]/login/[organization_shortname]
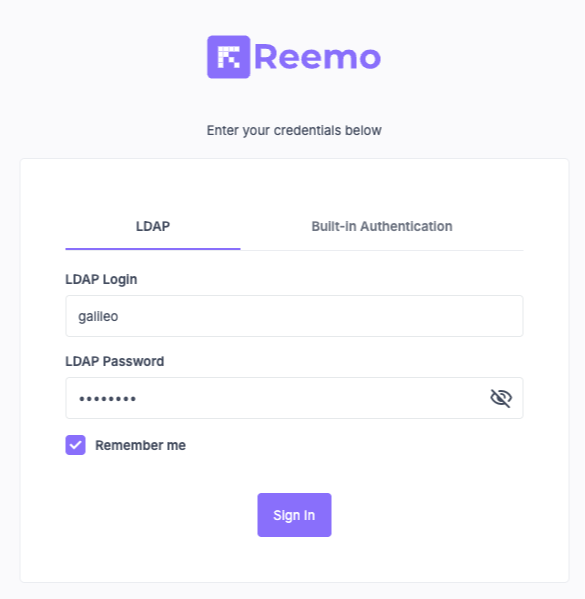
Sign in using LDAP Sign-in.