Configure SAML with Okta
This page explains how to integrate Okta as a SAML Identity Provider to authenticate your users on Reemo.
Note
Configure SAML in Reemo

Access SSO Connectors in the instance Admin Area.

Configure SAML in Organization > SSO Connectors.
Create the SAML Connector in Reemo
From verified_user Admin Area > domain Organizations, select your organization, then go to dashboard General > passkey SSO Connectors and click New Connector > New SAML Connector.
Fill in the basic fields:
Friendly Name: the name displayed to your users (e.g., Okta).
Issuer / App URI ID:
reemo.Attributes Mapping: attribute names Reemo expects in the SAML assertion (
email,username,fullnameby default).The other fields (e.g., Entry Point, Certificate) will be filled in after configuring Okta.
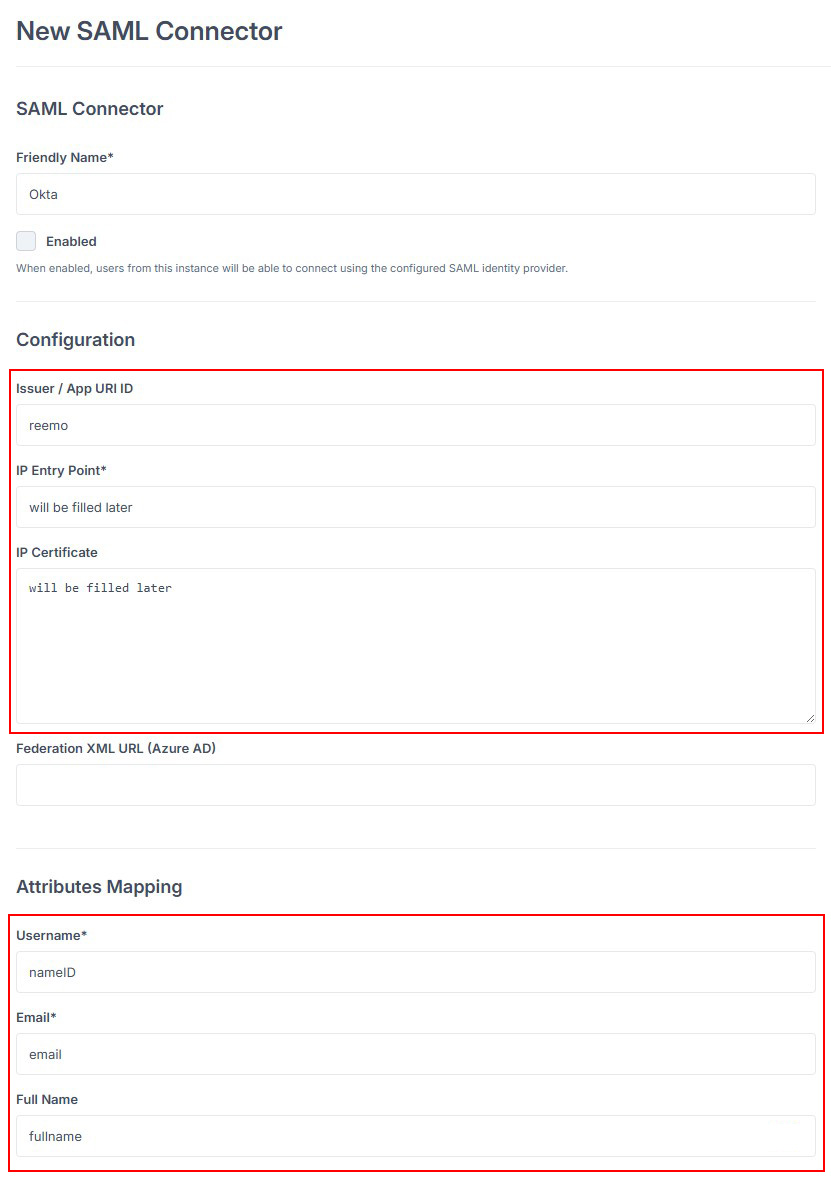
Fill in the basic fields of the SAML connector.
Enter the friendly name and the Issuer (reemo), then save.
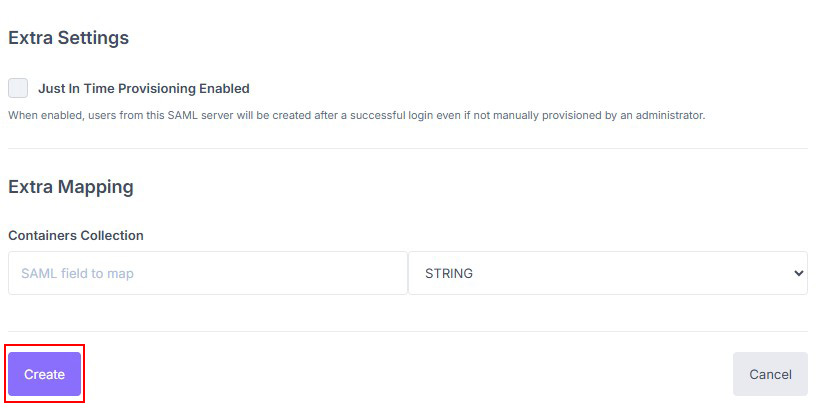
Click Create to generate the connector’s Callback URL. You will need this in Okta (Single sign-on URL).
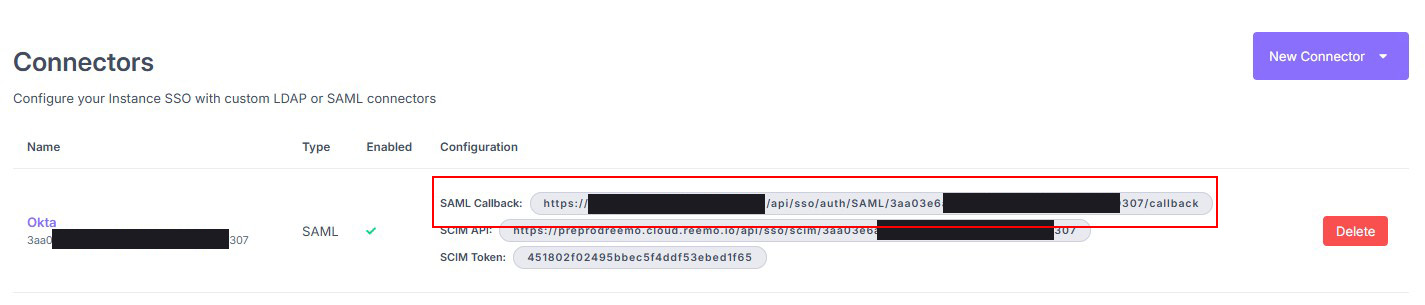
Copy the Callback URL generated by the SAML connector.
Configure the SAML Application in Okta
Log in to your Okta portal.
Go to Applications > Create App Integration > SAML 2.0.
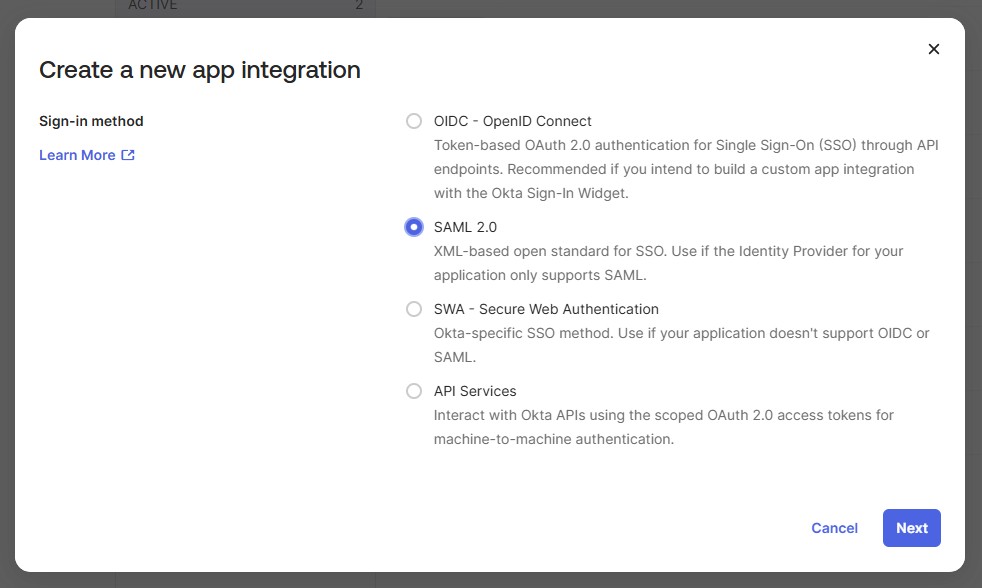
Create a SAML 2.0 integration in Okta.
Give the application a name (e.g., Reemo) and click Next.
Fill in the main SSO settings:
Single sign-on URL: paste the Callback URL from the Reemo connector.
Audience URI (SP Entity ID):
reemo.Application username: Email.
Configure the Attribute Statements as follows:
Name |
Name format |
Value |
|---|---|---|
Unspecified |
user.email |
|
fullname |
Unspecified |
user.lastName |
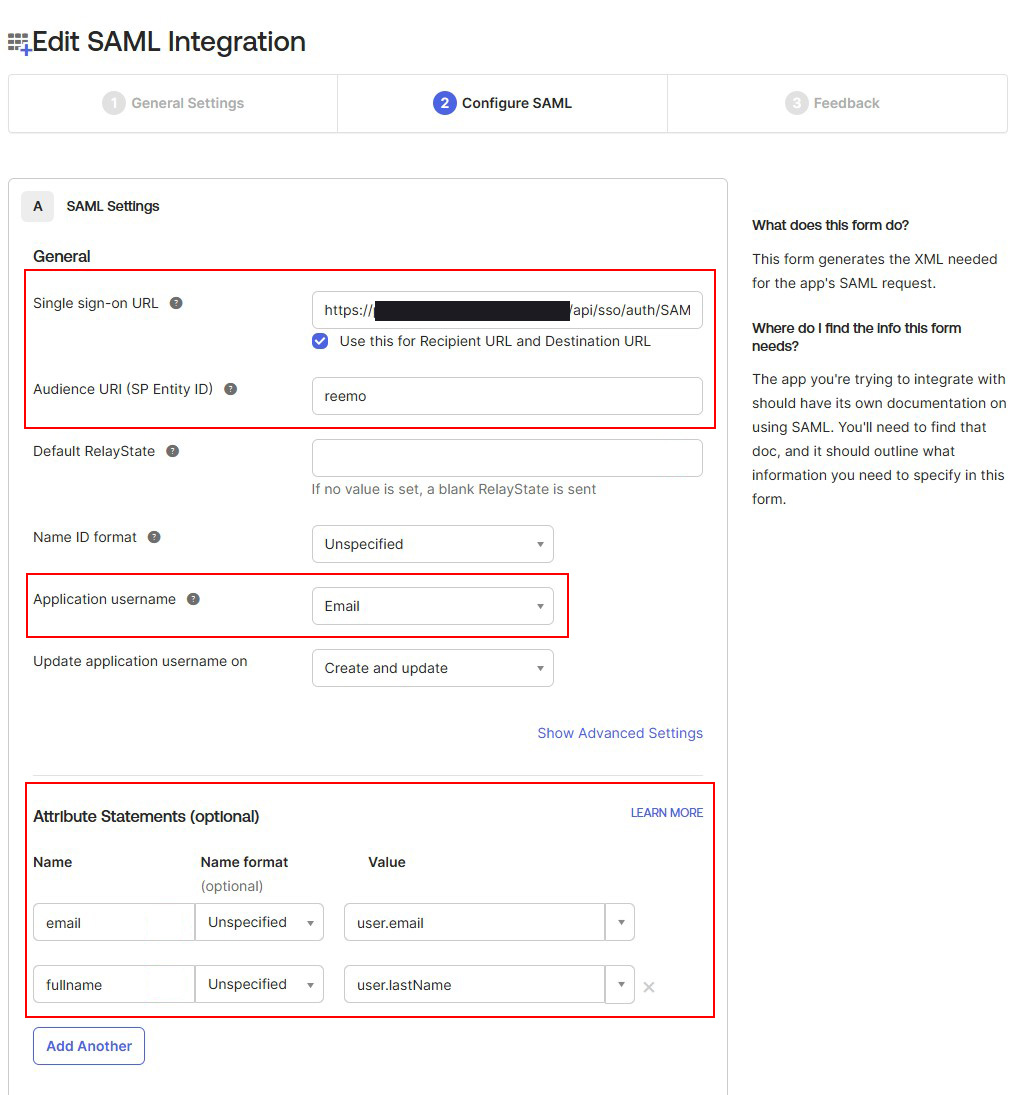
Fill in the Callback URL, Audience, and Attribute Statements.
Complete the Okta application creation (Next then Finish).
From the created application, go to the Sign On tab and download the Metadata (XML) from the provided URL.
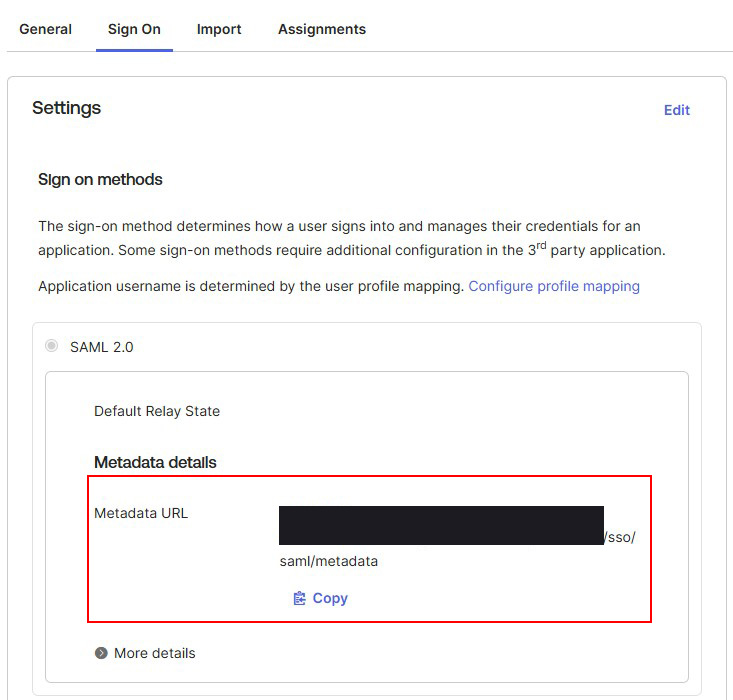
Download the SAML metadata (XML) from Okta.
Copy the X.509 Certificate and the Entry Point (SSO URL).
Retrieve the X.509 certificate and Entry Point from Okta.
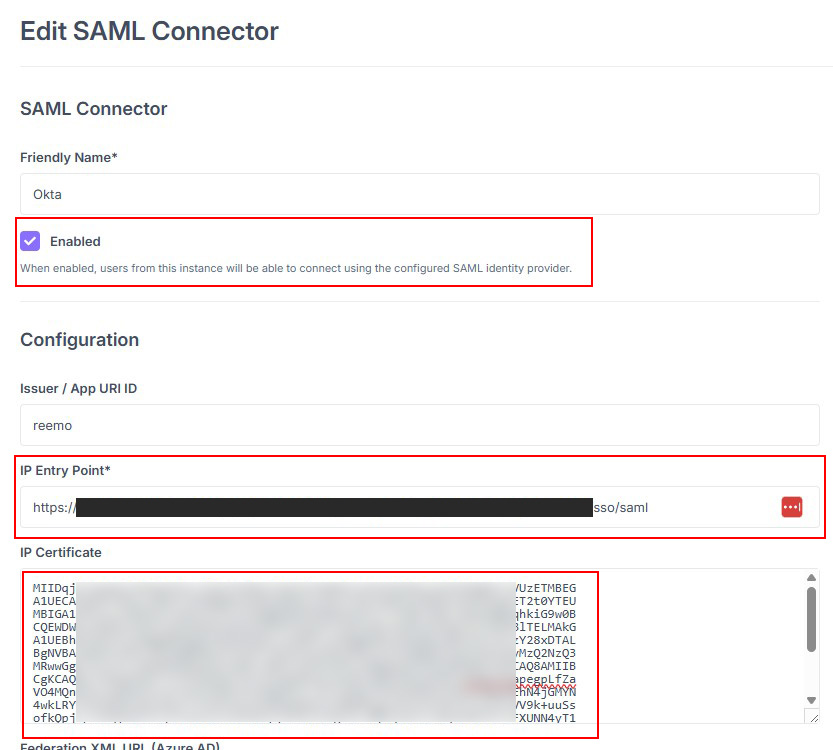
Complete the Reemo SAML connector. Enable the connector (check Enabled) and click Update to save.
Enable the connector after pasting the Entry Point and Certificate from Okta.
Declare users
There are two approaches to grant SSO access to users.

Select Provision SAML User from the New User menu.
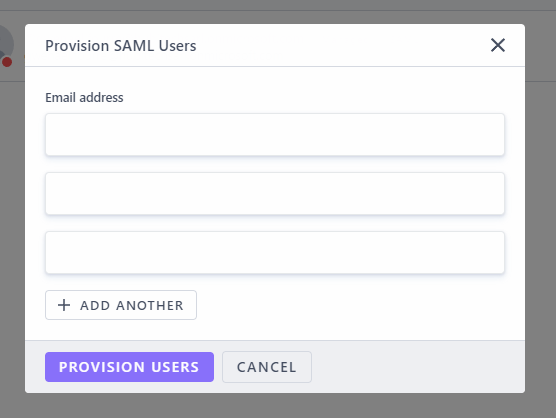
Add users by email through the provisioning popup.

Enable Just In Time Provisioning to create accounts on first login.
Log in via SAML
Once the connector is active and users are declared (or JIT is enabled), your users can log in:
General access to your portal (Private Cloud / On-Prem):
https://[portal_url]/
Direct access to the organization (Public Cloud):
https://[portal_url]/login/[organization_shortname]
On the login screen, select the SSO tab, then click Login to be redirected to the identity provider.

Select the SSO tab, then click Login.