Configure OIDC with Microsoft Entra ID
This page explains how to integrate Microsoft Entra ID (formerly Azure AD) as an OpenID Connect (OIDC) identity provider to authenticate your users on Reemo.
Note
Configure SSO in Reemo
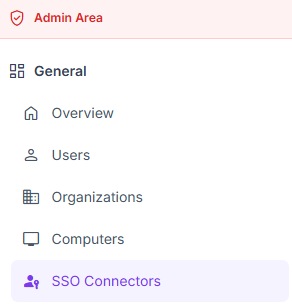
Access SSO Connectors in the instance Admin Area.
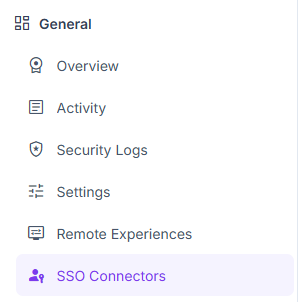
Configure SSO in Organization > SSO Connectors.
Create the OIDC connector in Reemo
From verified_user Admin Area > domain Organizations, select your organization, then go to dashboard General > passkey SSO Connectors and click New Connector > New OIDC Connector.
Enter the Friendly Name (e.g. Microsoft Entra ID), then click Create to generate the connector’s callback URL. You will need it in Entra ID.
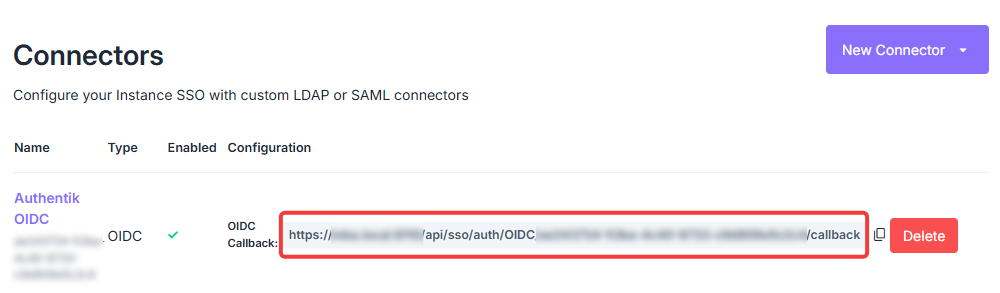
Copy the callback URL generated by the OIDC connector.
Register the application in Microsoft Entra ID
In the Azure portal > Microsoft Entra ID > App registrations > New registration.
Enter a name, select the supported account types, then under Redirect URI choose the Web platform and paste the callback URL from the Reemo connector.
Once the application is created, note the Application (client) ID and the Directory (tenant) ID.
In Certificates & secrets > New client secret, create a secret and immediately copy its value (it will not be shown again).
The Issuer follows the format:
https://login.microsoftonline.com/[tenant_id]/v2.0
Complete the OIDC connector in Reemo
Complete the connector with the Entra ID information:
Issuer URL:
https://login.microsoftonline.com/[tenant_id]/v2.0. Reemo auto-discovers the endpoints from<issuer>/.well-known/openid-configuration.Client ID: the Application (client) ID.
Client Secret: the value of the created secret.
Scopes: leave empty to use
openid profile emailby default.
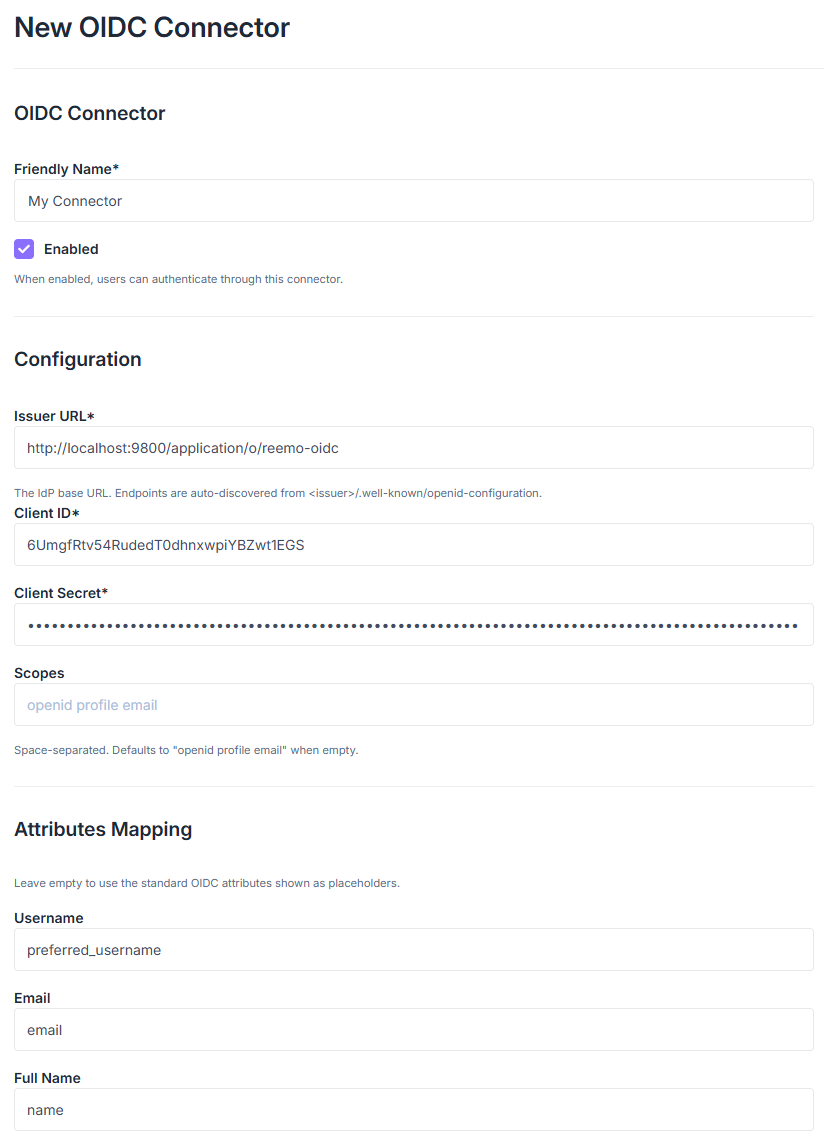
Enter Issuer URL, Client ID and Client Secret, then enable the connector.
Enable the connector (check Enabled) then click Update (or Create) to save.
Declare users
Two approaches are available to grant SSO access to users.
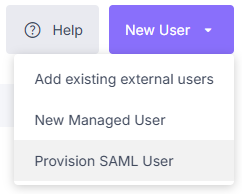
Select Provision SAML User from the New User menu.
The same button provisions both SAML and OIDC users.

Enable Just In Time Provisioning to create accounts on first login.
Manage rights dynamically from the directory
In Entra ID
In your application, go to Token configuration > Add groups claim to include group membership in the ID token.
Warning
By default, Entra ID emits group object IDs (GUIDs), not their names. In that case, enter these GUIDs (not the names) in the SSO Mapping Identifier field of the Reemo collections.
In Reemo
Open the OIDC connector form (Admin Area > General > SSO Connectors), Extra mapping section.
In the Collection field, enter
groups, then click Update.
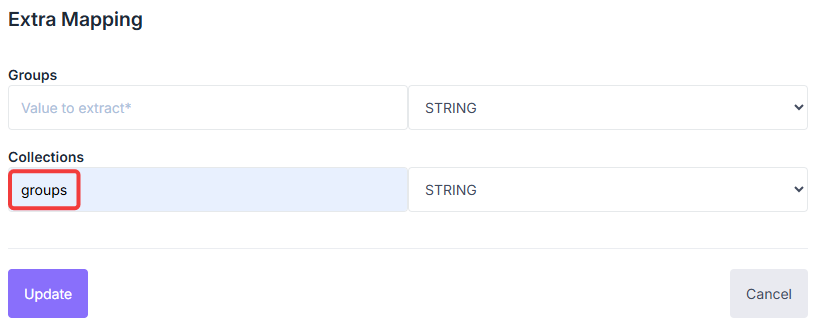
Enter the group claim name in the Collection field of Extra Mapping.
In Inventory > Collections, edit a collection and fill the SSO Mapping Identifier field with the corresponding group identifier.
Log in via OIDC
Once the connector is active and users are declared (or JIT is enabled), your users select the OIDC tab on the login screen, pick the connector, and are redirected to Microsoft Entra ID.
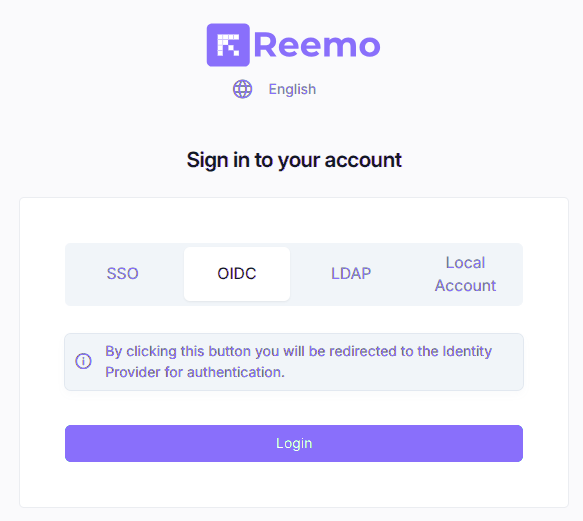
Select the OIDC tab then the connector to be redirected to Entra ID.